
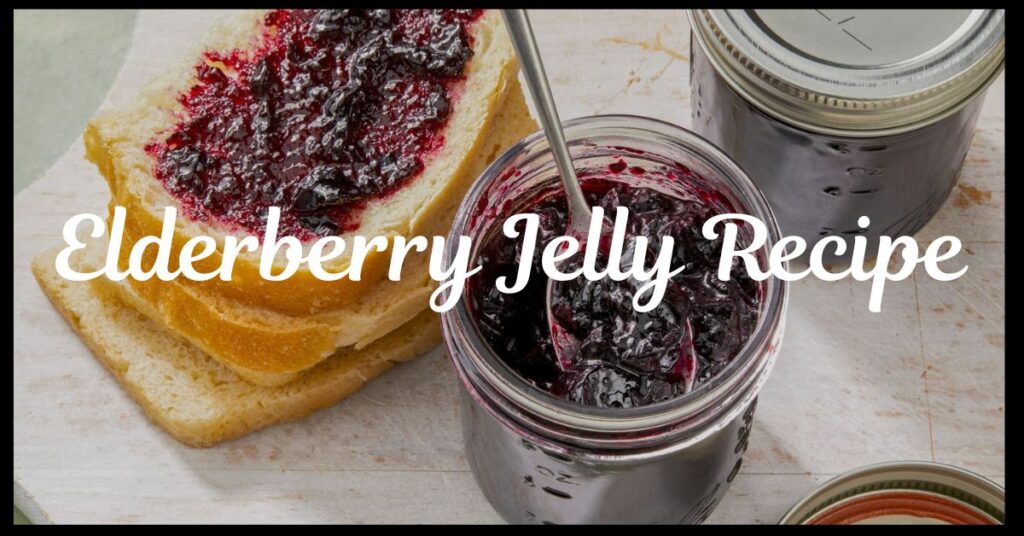
Elderberries have long been cherished for their rich flavor and impressive health benefits. Turning these small, dark berries into elderberry jelly is a time-honored tradition that creates a sweet, slightly tart spread perfect for toast, desserts, and even savory dishes. This guide provides an accurate, easy-to-follow elderberry jelly recipe, along with tips, FAQs, and important safety notes to ensure the best results.
Why Choose Elderberries?
Elderberries (Sambucus nigra) are packed with antioxidants, vitamins, and minerals. Studies indicate that elderberries are particularly rich in vitamin C and flavonoids, both known to support immune health (National Institutes of Health). This makes elderberry jelly not just a delicious treat, but also a valuable addition to a nutritious diet.
However, it’s important to note that raw elderberries are toxic and must be properly cooked before consumption. Cooking neutralizes the toxic compounds, making them safe to eat.
Ingredients Needed for Elderberry Jelly
Making elderberry jelly requires a few simple ingredients:
- 4 cups elderberry juice (about 5-6 cups of fresh elderberries)
- 1 package powdered fruit pectin (approximately 1.75 ounces)
- 5 cups granulated sugar
- 2 tablespoons lemon juice (for acidity and flavor balance)
- Optional: 1 teaspoon cinnamon (for a warm flavor twist)
Equipment Needed
- Large saucepan
- Jelly bag or fine-mesh strainer
- Canning jars and lids (sterilized)
- Canning funnel and ladle
- Water bath canner (optional but recommended for longer storage)

How to Make Elderberry Jelly
Follow these steps carefully to create a delicious, safe jelly:
1. Preparing the Elderberries
- Harvest or purchase elderberries that are fully ripe (deep purple to black in color).
- Remove all stems and leaves, as these parts are toxic.
- Wash the berries thoroughly in cold water.
2. Extracting the Juice
- Place the cleaned elderberries in a large saucepan.
- Add a small amount of water (just enough to cover the bottom of the pan) to prevent scorching.
- Simmer gently for 10-15 minutes, mashing the berries occasionally.
- Pour the cooked berries through a jelly bag or fine-mesh strainer to collect the juice. Avoid squeezing the bag too hard to keep the juice clear.
3. Preparing the Jelly
- Measure 4 cups of the extracted juice into a large saucepan.
- Stir in the lemon juice and pectin.
- Bring the mixture to a rolling boil over medium-high heat, stirring constantly.
- Add all the sugar at once, stirring to dissolve.
- Return to a full rolling boil and boil for exactly 1 minute, stirring continuously.
4. Canning the Jelly
- Remove the saucepan from heat and skim off any foam.
- Quickly ladle the hot jelly into sterilized jars, leaving ¼ inch headspace.
- Wipe the jar rims with a clean, damp cloth.
- Place lids on jars and screw bands fingertip-tight.
5. Processing the Jelly
- Process the jars in a boiling water bath for 5 minutes (adjust for altitude if necessary; refer to USDA guidelines).
- Remove the jars and allow them to cool for 12-24 hours.
- Check seals before storing. Jars that did not seal properly should be refrigerated and used first.
Tips for Perfect Elderberry Jelly
- Use fresh, ripe berries: Overripe or underripe elderberries can affect flavor and pectin content.
- Accurately measure ingredients: Precise amounts are critical for proper gel formation.
- Do not double batches: Making jelly in small batches ensures even cooking and better setting.
Storing and Shelf Life
Properly canned and sealed elderberry jelly can be stored in a cool, dark place for up to 12 months. Once opened, it should be refrigerated and used within 2-3 weeks for best quality.
Health Benefits of Elderberry Jelly
While elderberry jelly is enjoyed primarily for its flavor, it also carries some nutritional benefits:
- Rich in antioxidants: Elderberries are high in anthocyanins, a type of antioxidant that can help combat oxidative stress (Journal of Functional Foods).
- Supports immune health: Elderberries have traditionally been used to reduce the duration of cold and flu symptoms, although more research is needed to confirm these effects conclusively.
It is important to note that elderberry products should not replace medical treatments.
Conclusion
Making elderberry jelly at home is a rewarding process that yields a flavorful and nutritious spread. By carefully following preparation steps and safety guidelines, a delicious jelly can be enjoyed throughout the year. Whether spread on warm bread, used in baking, or gifted to loved ones, elderberry jelly is a timeless treat that celebrates the natural bounty of elderberries.
Frequently Asked Questions (FAQs)
Can Frozen Elderberries Be Used?
Yes, frozen elderberries work well for making jelly. Thaw them fully before cooking, and expect a slight increase in juice yield.
What If the Jelly Doesn’t Set?
If the jelly remains too runny after cooling, it can be re-cooked with additional pectin following the instructions provided by the pectin manufacturer.
Is Elderberry Jelly Safe for Children?
Once properly cooked, elderberry jelly is safe for children to consume in moderate amounts. Always consult a pediatrician if introducing new foods to young children.
Can Sugar Be Reduced in the Recipe?
Reducing sugar in traditional jelly recipes can prevent proper setting and preservation. Low-sugar pectin products are available if a lower-sugar version is desired.


