

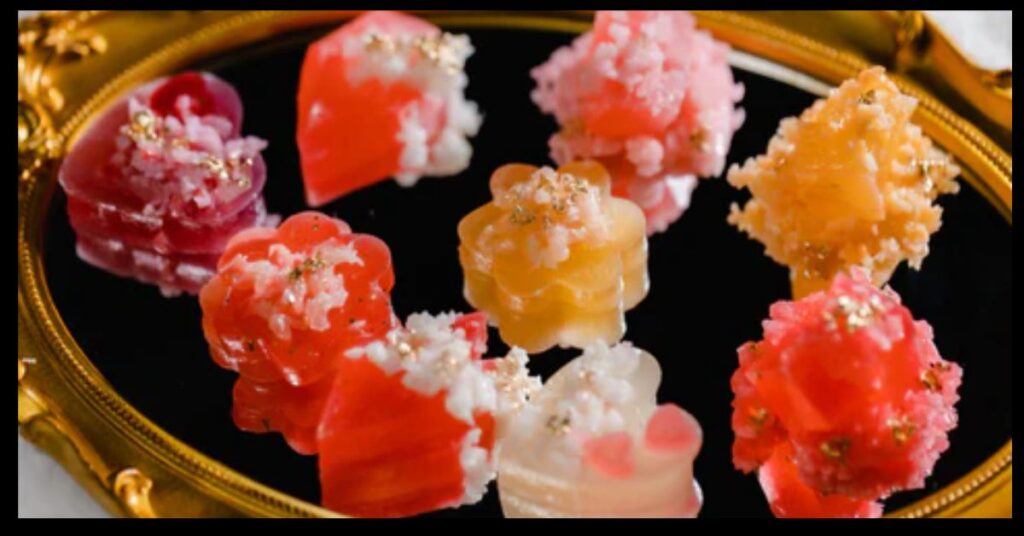
Crystal candy, often known as rock candy, is a sparkling and sweet confection made from pure sugar crystals. This treat has been enjoyed for centuries in various cultures, often used for decoration, science education, or simply for its satisfying crunch and eye-catching appearance. Making crystal candy at home is a fun and educational activity that combines the art of cooking with the principles of science.
What Is Crystal Candy?
Crystal candy is made by crystallizing sugar through a process of slow evaporation. Sugar is dissolved in boiling water until it reaches a supersaturated state. As the solution cools and evaporates over several days, sugar crystals form and grow into beautiful, edible structures.
Ingredients and Equipment
To make crystal candy, only a few basic ingredients and supplies are needed. These items are generally found in most households or are readily available at local grocery stores.
Ingredients:
- 2 cups granulated white sugar
- 1 cup water
- Food coloring (optional)
- Flavoring extract (optional; examples include vanilla, lemon, or peppermint)
Equipment:
- Saucepan
- Wooden skewers or clean string
- Glass jars or heat-safe cups
- Clothespins or clips
- Measuring cups and spoons
Step-by-Step Crystal Candy Recipe
Step 1: Prepare the Skewers or Strings
Before cooking, prepare the skewers or strings that the crystals will grow on. Dip them in water and roll them in a little sugar, then let them dry for a few hours. This creates a textured surface that helps sugar crystals attach and grow.
Step 2: Create the Sugar Solution
- In a medium saucepan, combine 1 cup of water and 2 cups of granulated sugar.
- Heat the mixture over medium heat, stirring continuously until the sugar is fully dissolved. Do not boil the mixture too long—stop once all sugar is dissolved and the solution becomes clear.
- To achieve supersaturation (a key requirement for crystal growth), ensure you dissolve as much sugar as possible. If necessary, add small amounts of sugar until no more dissolves.
Step 3: Add Color and Flavor
- Once the sugar is fully dissolved and the mixture is removed from heat, add a few drops of food coloring and your chosen flavor extract.
- Stir gently to combine.
Step 4: Pour the Solution into Jars
- Carefully pour the hot sugar solution into clean jars or heat-safe glasses.
- Attach a clothespin to the center of each skewer or string and suspend it into the solution so it hangs in the center without touching the bottom or sides.
Step 5: Let the Crystals Grow
- Place the jars in a cool, undisturbed area.
- Over the next 5 to 7 days, crystals will begin to form.
- Check the growth daily, and remove the skewers once the crystals reach your desired size.
Step 6: Dry and Store
- Let the crystal candy dry on a parchment-lined tray for several hours.
- Store in an airtight container at room temperature for up to several weeks.
Tips for Success
- Temperature Control: Do not allow the sugar solution to boil too vigorously. Excessive boiling can lead to unwanted caramelization or breakdown of sugar molecules.
- Avoid Contamination: Make sure jars and skewers are clean to prevent impurities from affecting crystal growth.
- Humidity Matters: High humidity can slow down evaporation and crystal formation. Choose a dry area for best results.
Science Behind Crystal Candy
Crystal candy is a practical example of crystallization, a physical process where solids form in a highly structured pattern. The sugar-water solution becomes supersaturated, meaning it holds more sugar than it normally would at room temperature. As the solution cools and evaporates, the excess sugar forms solid crystals on the seeding surface (skewer or string).
This process is often used in classrooms to teach kids about solubility, saturation, and molecular structure in a visual and hands-on way.
Nutritional Information
Crystal candy is made entirely of sugar, and while it is a delightful treat, it should be consumed in moderation.
Approximate Nutritional Value (per stick, ~15g):
- Calories: 60
- Carbohydrates: 15g
- Sugars: 15g
- Fat: 0g
- Protein: 0g
Flavor and Color Variations
One of the advantages of making crystal candy at home is the ability to customize it.
Popular Flavor Extracts:
- Lemon
- Mint
- Cherry
- Almond
Coloring Ideas:
- Red and green for Christmas
- Pastels for spring
- Neon shades for birthday parties
Natural food dyes can also be used for a healthier, chemical-free option.
Fun Uses for Crystal Candy
- Party Favors: Wrapped in clear plastic with a ribbon, crystal candy makes a colorful party favor.
- Cake Toppers: Large, jewel-like crystals add a touch of elegance to cakes and cupcakes.
- Educational Demonstrations: Perfect for school projects and home science experiments.
Storage and Shelf Life
Crystal candy should be stored in an airtight container at room temperature. Avoid high humidity environments, as moisture can cause the crystals to dissolve or become sticky. When stored properly, the candy can last up to 2–3 weeks.
Safety Precautions
While the process is simple, some precautions should be taken:
- Children should be supervised when handling hot sugar syrup.
- Do not consume the candy if mold or discoloration appears during the drying process.
- Ensure all equipment is heat-resistant to avoid breakage or injury.
Conclusion
Making crystal candy is an enjoyable, educational, and delicious activity suitable for all ages. With just sugar, water, and a few kitchen tools, anyone can create this dazzling treat at home. Whether used for decoration, gifts, or a fun science experiment, crystal candy is a rewarding DIY project that combines creativity with basic chemistry.


